

Creating and customizing interactive slides

1. Creating a Poll
A Poll allows your audience to select one or more answers from the options you provide.
A Poll in Vivicon consists of the following elements:
- Question: The question you want to ask your audience.
- Answers: The options your audience can select.
Setting up your Poll
- Select Poll from the list.
- Enter your question.
- Add your answer options.
- Decide whether participants can select one or multiple answers:
- Single response: Participants can choose only one option.
- Multiple response: Participants can select more than one option.
- Review your Poll before adding it to your design.
Adding the Poll to your design
- Click Add to Design.
- The Poll will be embedded into your Canva design.
- Resize, move or customize it within your design as needed.
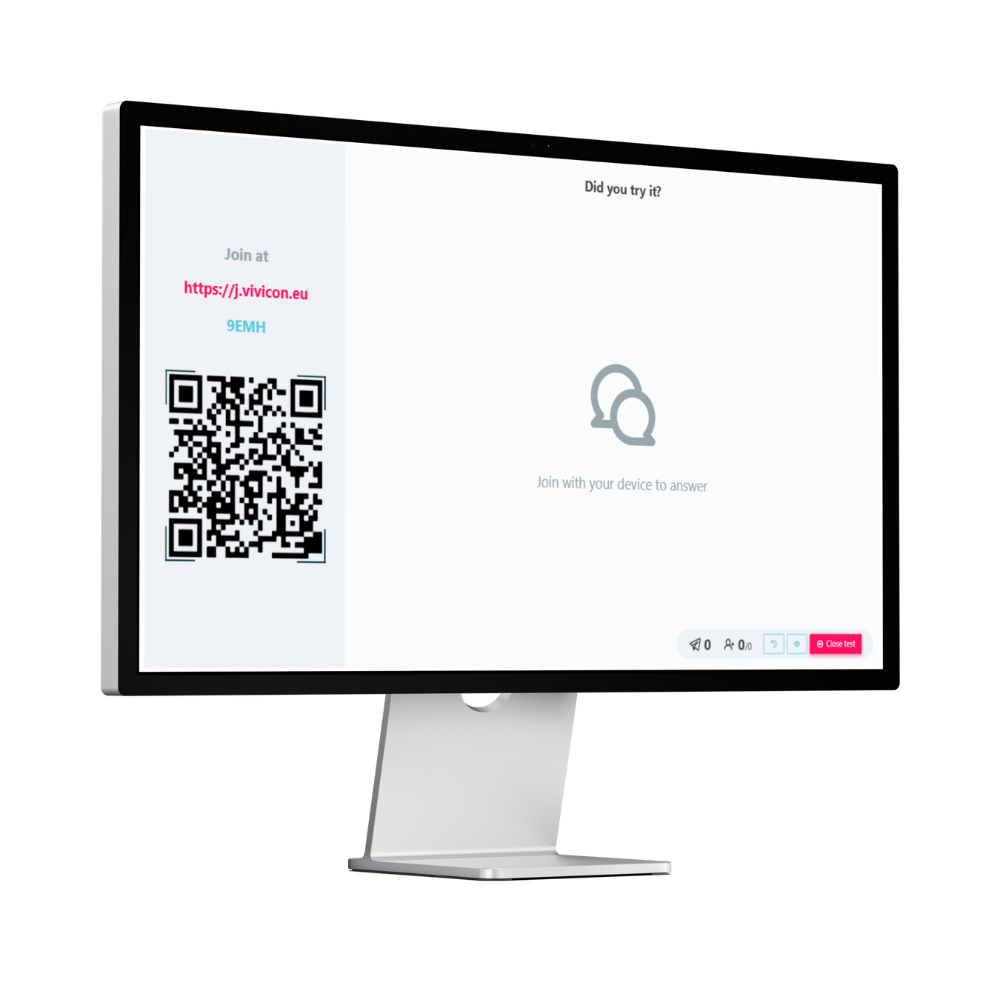
2. Turning a Poll into a quiz
You can turn a Poll into a quiz by setting one or more correct answers.
2.1. Setting up your quiz Poll
- Create a Poll.
- Enter your question and answer options.
- Enable the option to set correct answers.
- Select whether participants can select one or multiple correct answers:
- Single response: Participants can choose only one option.
- Multiple response: Participants can select more than one option.
- Review your Poll before adding it to your design.
2.2. Adding the quiz Poll to your design
- Click Add to Design.
- The Poll will be embedded into your Canva design.
- Resize, move or customize it within your design as needed.
3. Creating a Poll leaderboard
Turn your Polls into a friendly competition! 🏆
The Poll leaderboard shows a ranking based on Polls that have correct answers.
Once the relevant Polls are closed, the Poll leaderboard can display the participant ranking.
3.1. Adding the Poll leaderboard to your design
- Create one or more Polls with correct answers.
- Add the Polls to your presentation.
- Select Poll leaderboard from the Interactive Slides app.
- Add the Poll leaderboard to your design.
- Place it after the quiz Polls you would like to use.
- Resize, move or customize it within your design as needed.
4. Creating a Poll with AI
Need some inspiration? ✨
Vivicon can help you generate a Poll using AI.
AI can create a question and suggested answer options, which you can edit before adding the Poll to your presentation.
The number of AI Polls you can generate may depend on your current Vivicon plan.
4.1. Setting up your Poll with AI
- Start creating a new Poll.
- Select the AI generation option.
- Enter the requested information.
- Generate your Poll.
- Review the suggested question and answers.
- Edit anything you would like to change.
4.2. Adding the AI Poll to your design
- Click Add to Design.
- The AI Poll will be embedded into your Canva design.
- Resize, move or customize it within your design as needed.
5. Creating an Open-ended question
An Open-ended question lets your audience answer in their own words, making it ideal for opinions, feedback and deeper discussion.
Identical incoming responses will be automatically grouped together.
5.1. Setting up your Open-ended question
- Select Open-ended question from the list.
- Enter your question or topic.
- Decide how many responses you allow:
- Multiple response: Participants can submit more than one answer.
- Single response: Participants can submit only one answer.
- Review your Open-ended question before adding it to your design.
5.2. Adding the Open-ended question to your design
- Click Add to Design.
- The Open-Ended Question will be embedded into your design.
- Resize, move or customize it within your design as needed.
6. Creating a Wordcloud
A Wordcloud lets your audience submit words or short phrases and turns their responses into a dynamic visual result.
When multiple participants submit the same word, it becomes more prominent in the Wordcloud.
During your presentation, submitted answers will appear in the Wordcloud.
6.1. Setting up your Wordcloud
- Select Wordcloud from the list.
- Enter your question or topic.
- Decide how many responses you allow:
- Multiple response: Participants can submit more than one answer.
- Single response: Participants can submit only one answer.
- Review your Wordcloud before adding it to your design.
6.2. Adding the Wordcloud to your design
- Click Add to Design.
- The Wordcloud will be embedded into your design.
- Resize, move or customize it within your design as needed.
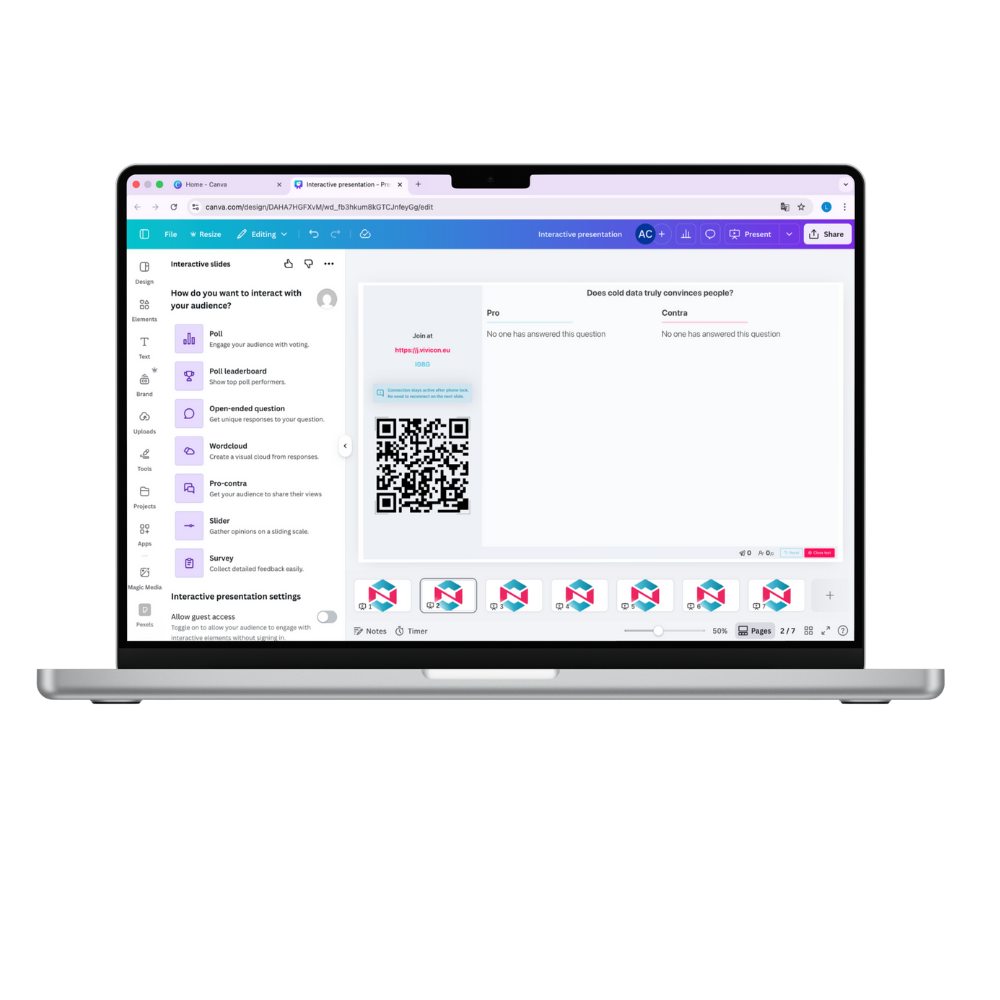
7. Creating a Pro-contra
A Pro-contra interactive slide encourages discussion by giving participants two opposing sides of the same topic.
A Pro-contra consists of:
- Question: The topic you’d like your audience to discuss.
- Team A: One side of the discussion.
- Team B: The opposing side.
For example:
“Should artificial intelligence be used to make hiring decisions?”
Participants can add arguments and counterarguments around the same topic.
7.1. Setting up your Pro-contra
- Select Pro-contra from the list.
- Enter your question or topic.
- Enter the title for the first side.
- Enter the title for the opposing side.
- Configure how participants can contribute.
- Review your Pro-contra before adding it to your design.
7.2. Adding the Pro-contra to your design
- Click Add to Design.
- The Pro-contra will be embedded into your design.
- Resize, move or customize it within your design as needed.
8. Creating a Slider
A Slider lets your audience answer a question using a scale.
It is ideal for measuring opinions, attitudes or satisfaction.
8.1. Setting up your Slider
- Select Slider from the list.
- Enter the question or statement you would like participants to rate.
- Configure the available scale.
- Review your Slider before adding it to your design.
8.2. Adding the Slider to your design
- Click Add to Design.
- The Slider will be embedded into your design.
- Resize, move or customize it within your design as needed.
9. Creating a Guess the number
A Guess the number interactive slide lets your audience submit a numerical guess in response to a question.
It is a fun way to test knowledge, ask estimation questions or add a quick icebreaker to your presentation. 🎯
For example:
“In what year did the Berlin Wall fall?”
During your presentation, participants can submit their numerical guesses from their own devices.
9.1. Setting up your Guess the number
- Select Guess the number from the list.
- Enter the question you would like your audience to answer.
- Set the number your audience should try to guess.
- Review your Guess the number before adding it to your design.
9.2. Adding the Guess the number to your design
- Click Add to Design.
- The Guess the number will be embedded into your design.
- Resize, move or customize it within your design as needed.
10. Creating a Survey
A Survey helps you collect structured information, opinions and feedback from your audience.
You can use Surveys for questionnaires, feedback forms, attendance sheets, post-event evaluations or other activities where you want participants to answer multiple questions.
With Interactive Slides, you can either use a ready-made Survey template or create your own Survey.
10.1. Adding a Survey template
If you want to get started quickly, you can add the available Survey template directly to your Canva design.
- Select Survey from the list.
- Choose the available Survey template.
- Add the Survey to your design.
- Resize, move or customize it within your design as needed.
The Survey is now ready to use during your presentation.
10.2. Creating your own Survey
Want to create a Survey with your own questions? You can manage and create Surveys through the core Vivicon platform.
- Select Survey in the Interactive Slides app.
- Click Manage surveys.
- A message will appear before you leave Canva. Click Continue to proceed.
- You will be redirected to the core Vivicon platform.
- Sign in to your Vivicon account.
- Click Add new to create a new Survey.
- Set up your Survey and add the questions you would like your participants to answer.
- Save your Survey.
- Return to your Canva design and open the Interactive Slides app again.
- Select Survey and choose the Survey you created.
- Review your Survey before adding it to your design.
💡 Tip: Make sure you use the Vivicon account connected to the same Canva account you use with Interactive Slides, so your Surveys are available when you return to Canva.
10.3. Adding the Survey to your design
- Click Add to Design.
- The Survey will be embedded into your design.
- Resize, move or customize it within your design as needed.
11. Customizing your interactive slides style
Make your interactive slide fit naturally into your Canva presentation by adjusting its theme and colors.
While creating an interactive slide, open the Style settings tab to customize its appearance.
11.1. Choose a theme
Under Theme settings, select one of the available styles:
- Dark – uses a dark theme for the interactive slide.
- Light – uses a light theme.
- Custom – lets you choose your own colors.
You can also enable Transparent background if you want the interactive slide to blend more seamlessly with the background of your Canva design.
11.2. Create a custom theme
If you select Custom, you can adjust four color settings:
- Background – the main background color of the slide.
- Text – the color used for text.
- Primary – the main accent color used for key elements.
- Secondary – the supporting accent color used throughout the slide.
Once you’re happy with the appearance, click Apply and continue.
💡 Tip: Choose colors with enough contrast between the background and text to keep your interactive slide clear and easy to read.